Configure and use Apache Zeppelin with SQL Server: the Basics
Concepts and Configuration notes for Apache Zeppelin 12 Dec 2016
In the previous post I’ve shown how to download and run Apache Zeppelin 0.6.2 for SQL Server, using Docker to simplify the installation procedure.
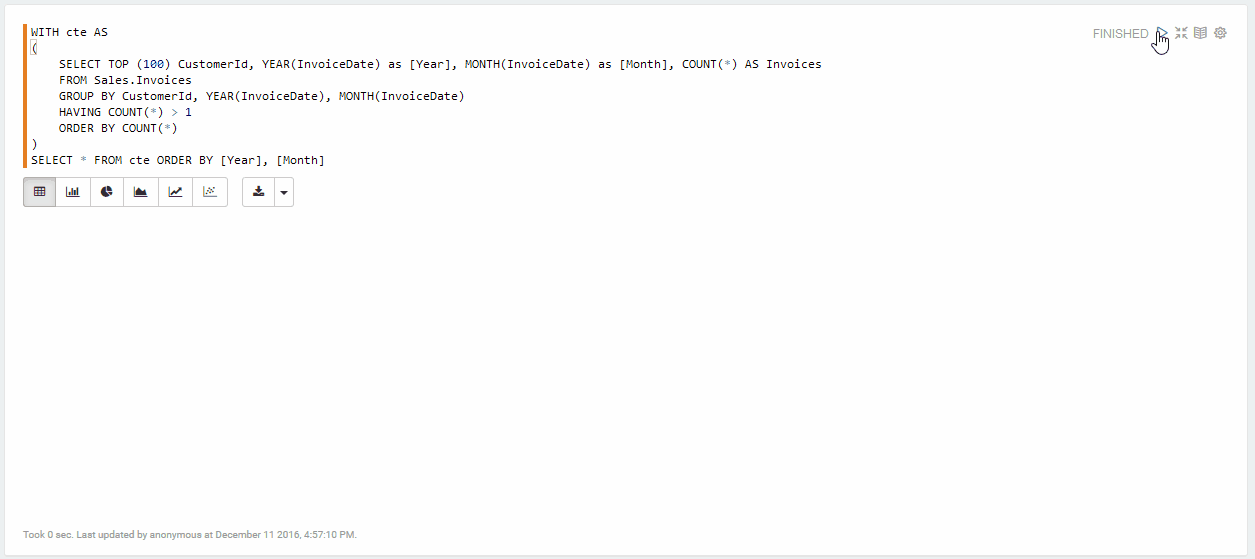
It’s now time to start to use the fantastic Apache Zeppelin to connect to SQL Server and run some queries.
This version specifically created for SQL Server, already comes with a predefined and almost configured interpreterso that you just have to specify the SQL Server (or Azure SQL or Azure DW) server you want to connect to, the database, the username and the password and you’re good to go.
Apache Zeppelin Interpreter
An Apache Zeppelin interpreter is a library that allows Apache Zeppelin to connect to and use a specific database, data provider or even language.
Notebooks and Paragraphs
A notebook is made of one or more paragraph,which are the containers where you actually write and run code. To specify which interpreter a paragraph should use, you just have to write the interpreter name prefixed by the percentage (%) character:
Interpreter Binding
Each notebook can use one or more interpreter. The process of defining which interpreter a notebook can use is called binding. The interpreters shipped with Apache Zeppelin 0.6.2 for SQL Server are:
T-SQL (%tsql)
Markdown (%md)
Python (%python)
Shell (%sh)
Angular (%angular)
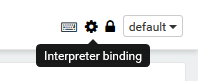
To specify which interpreter is available in the active notebook, you can just click on the the little gear icon on the top right:
Apache Zeppelin 0.6.2 for SQL Server comes with the following interpreters already bound to each notebook by default:
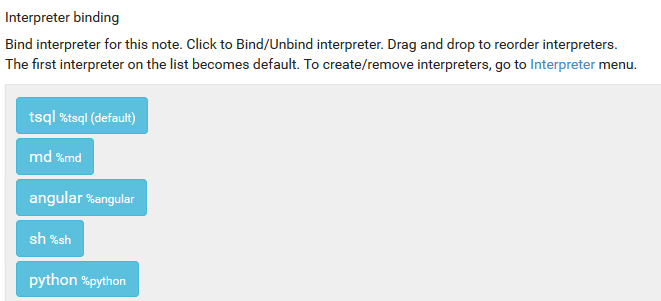
The default interpreter will be used if you don’t specify, for a paragraph, which interpreter you want to use. As you can see you can mix in a notebook different interpreters so that you can do almost everything you want. The Markdown is very useful since with that you can create self-explanatory notebooks.
Interpreter Configuration
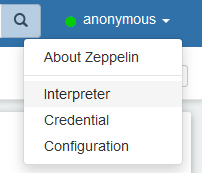
Before using an interpreter you have to configure it. This can be done using the “Interpreter” menu accessible by clicking on the drop-down arrow visible on the right of the top search bar.
Each interpreter has its own set of configuration options. For T-SQL you have to specify the following options:
sqlserver.connections
sqlserver.database
sqlserver.driver
sqlserver.max.result
sqlserver.password
sqlserver.url
sqlserver.user
Beside the usual username, password, initial database you have couple of more options:
The JDBC driver to use. Just leave the default, unless you want to use, for any reason, another JDBC driver to connect to SQL Server, which is very unlikely. I’ll probably hide this option in future now that Microsoft has officially released and open sourced JDBC driver for SQL Server and which is JDBC driver to use.
Is the “address” of the SQL Server instance you want to connect to, using the JDBC format:
jdbc:sqlserver://[serverName[\instanceName][:portNumber]][;property=value[;property=value]]
more details on the available properties can be found here: Building the Connection URL.
Big Data means that you cannot work taking a look at all your data. It is just too big (by definition!). So you’ll normally want to avoid to return all of your rows if, by mistake, you forget to specify a where clause. Here you specify the maximum number of rows you want to be returned ever. 1000 is the default number and should be more than enough. If you want to change it, keep in mind that all downloaded data will live in your browser memory space, so you don’t really want to push that number too high.
this is a very tricky and interesting property: it allows you to decide if all paragraph in the notebook will share the same connection or each paragraph will have a dedicated connection on it’s own.
With a notebook connection you will be able to share #temp tables between paragraphs, for example, but you won’t to able to execute two or more paragraph in parallel. Each paragraph will, in fact, be executed using a FIFO logic.
By using a paragraphconnection style, on the opposite, each paragraph will be totally independent and isolated from the others (which means it will have it’s own spid), just like it happens when you use more than one document with SQL Server Management Studio. This connection style allows each paragraph to be executed in parallel with the others.
Ready, set, go!
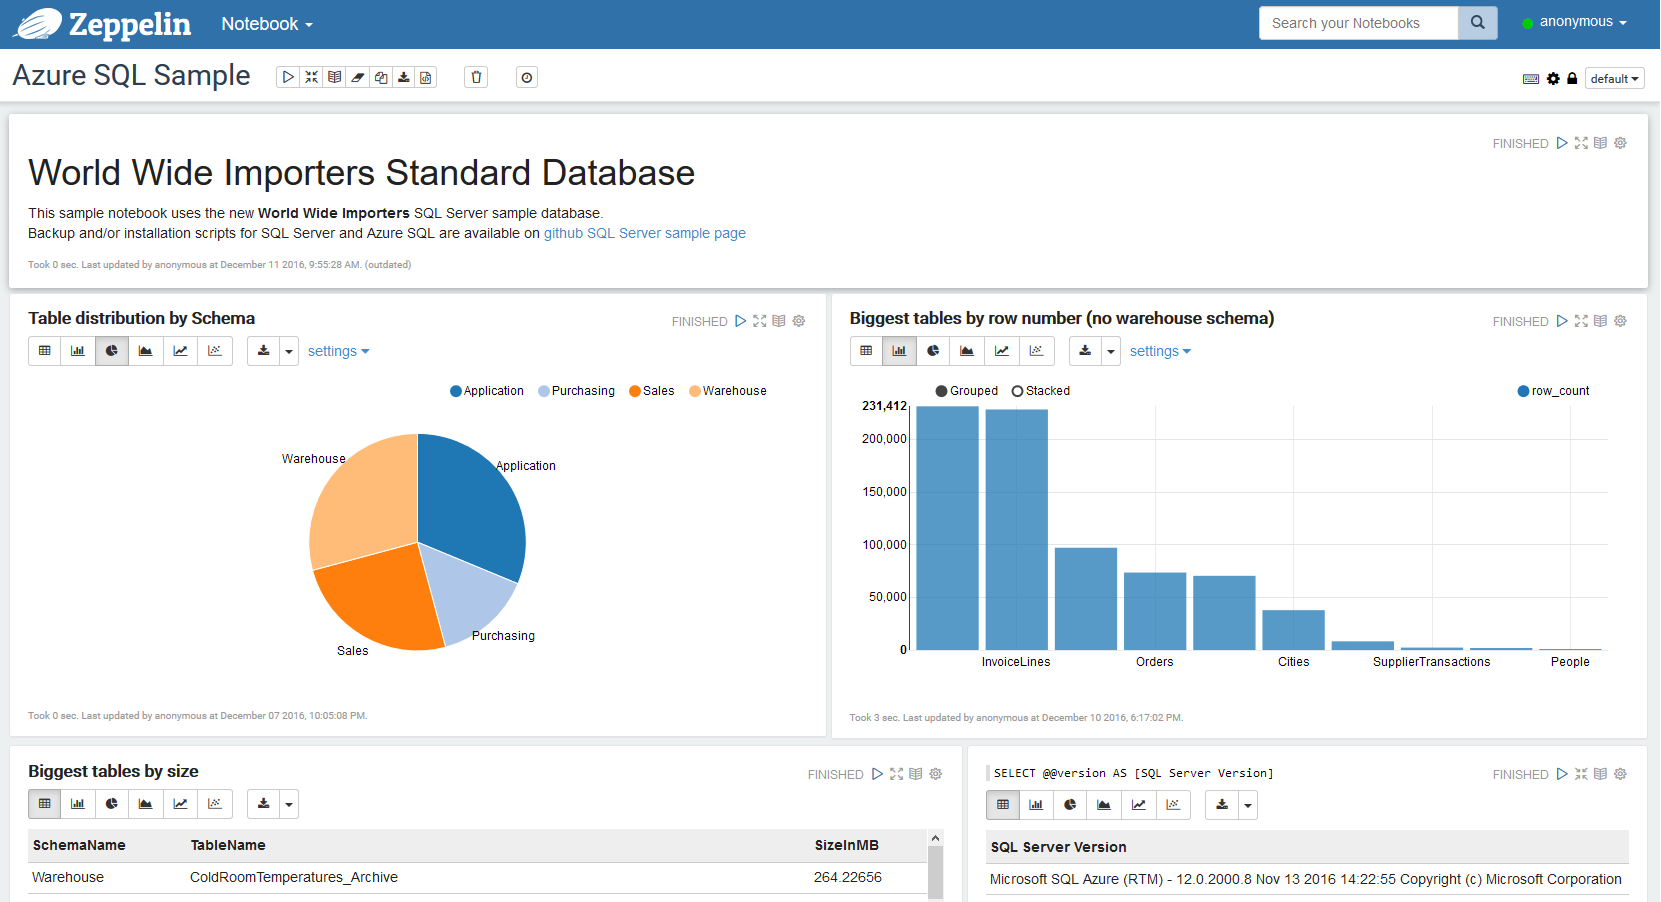
Once the settings are saved, you can start to query your SQL Server instance:
See it in action
As I did the last time, I’ve also created a quick video to show, in less than 5 minutes, how you can configure Apache Zeppelin 0.6.2 for SQL Server and run your first queries: